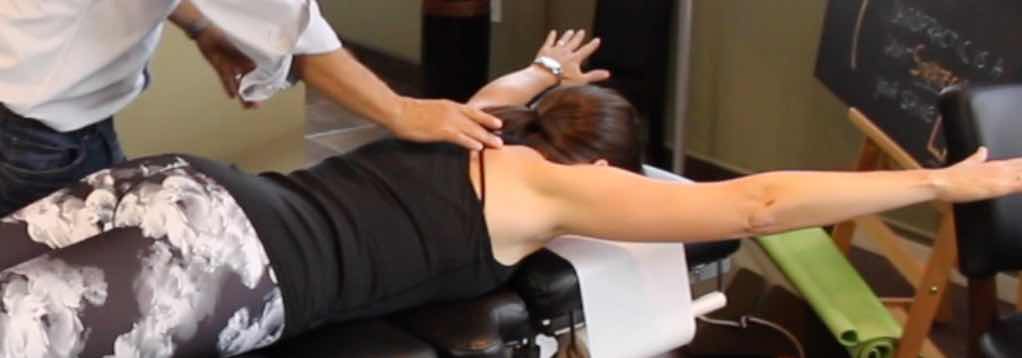
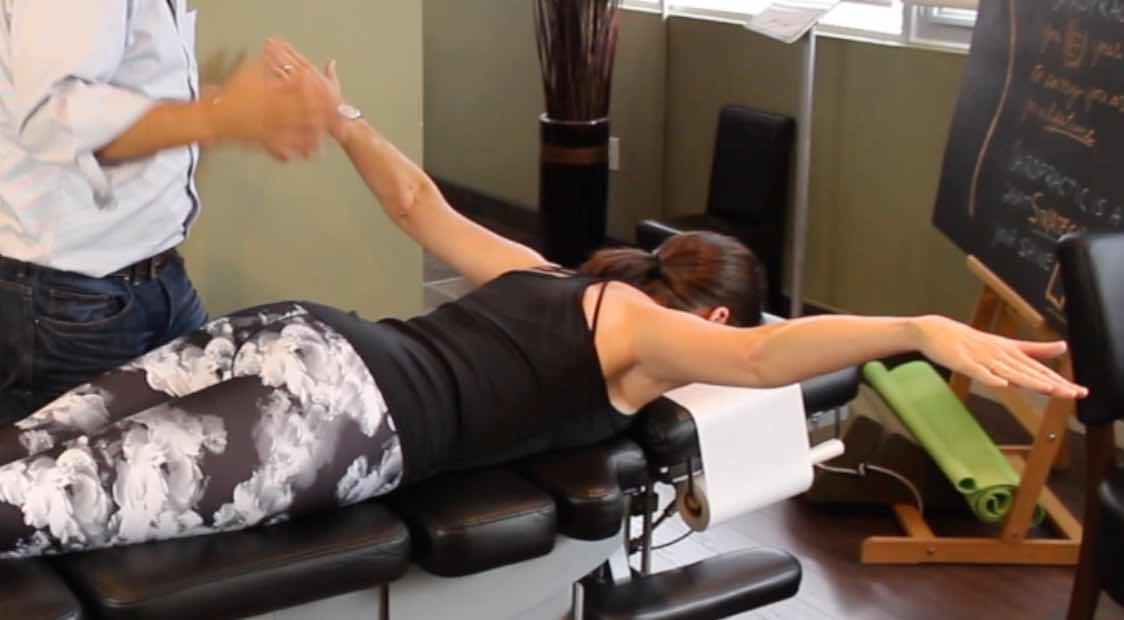
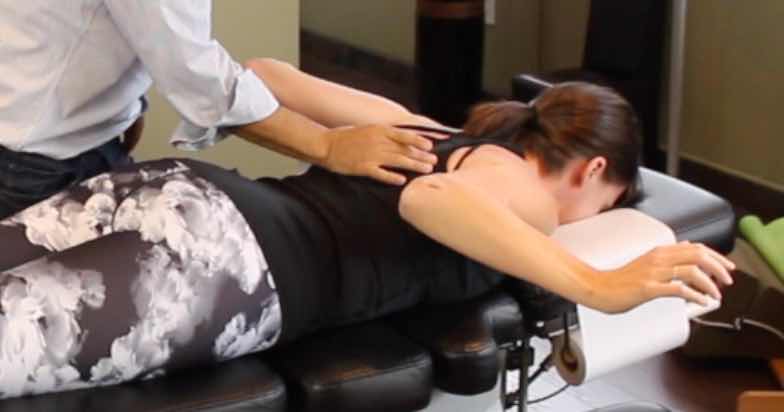
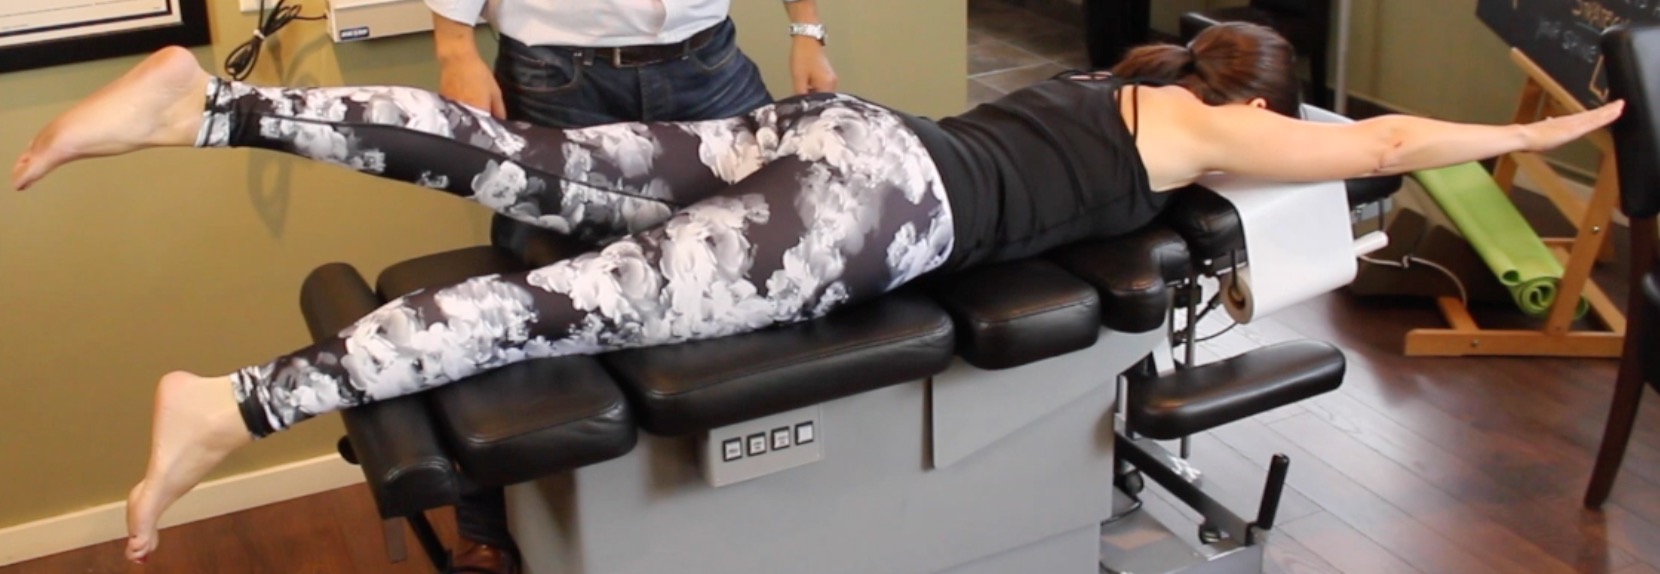
I want to share with you some NON-SURGICAL DIY tips to help with neck pain and back pain relief. Ottawa is filled with people who work at a desk all day long.
As an Ottawa Chiropractor I see people with neck pain and back pain every day and all of them need back pain relief.
Most of it comes from postures they are subjected to while working at the most common job in Ottawa.
The desk job. (Scroll down to see the FULL VIDEO at the bottom of the post)
 Even if you’re someone who would normally have a great posture (by your Chiropractor’s standard), you spend so many hours seated at a desk, your posture starts to collapse, your pelvis tilts forward, your head drops forward and you’re sitting at a computer for hours a day, week after week, year after year.2016-09-17_2048
Even when you are standing that translates into a posture where your shoulders are rolled forward, your head’s forward, your pelvis is dropped forward.
That can tend to create this ugly looking tummy that doesn’t actually exist, but it just looks like it does. It’s all about the posture.
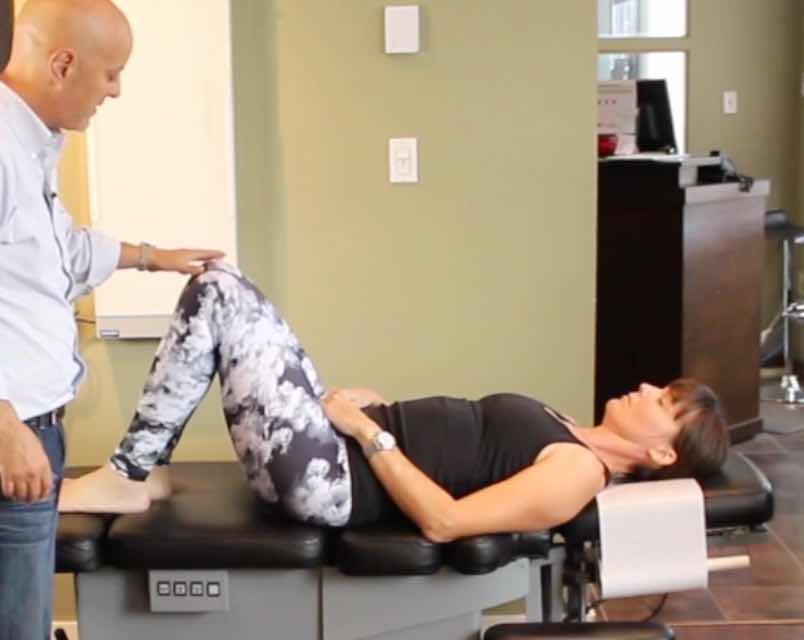
The first thing we need to stretch are something called “hip flexors”. There’s a muscle that goes between your thigh and your spine that gets shortened over time.
The first step is to show you how to stretch out your hip flexor.
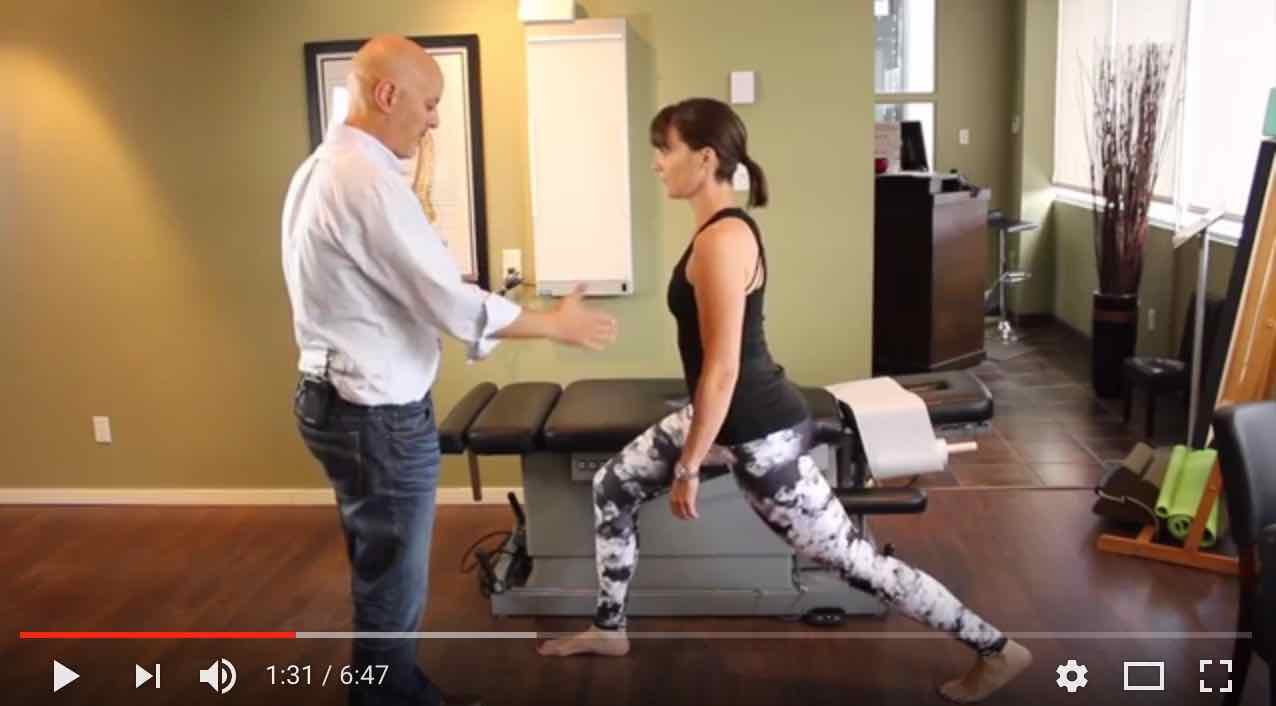
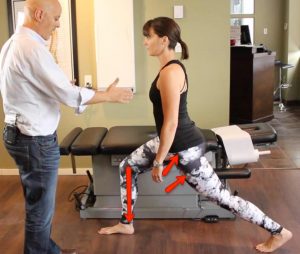 What you can try to do is something called a “simple lunge.”
The stretch you’re going to feel is going to be all in through your thigh and into the front of your hip.
You may find that as you’re doing this, it’s hard to balance, so you just use the table or a chair beside you.
Hold the stretch for 30-45 seconds.
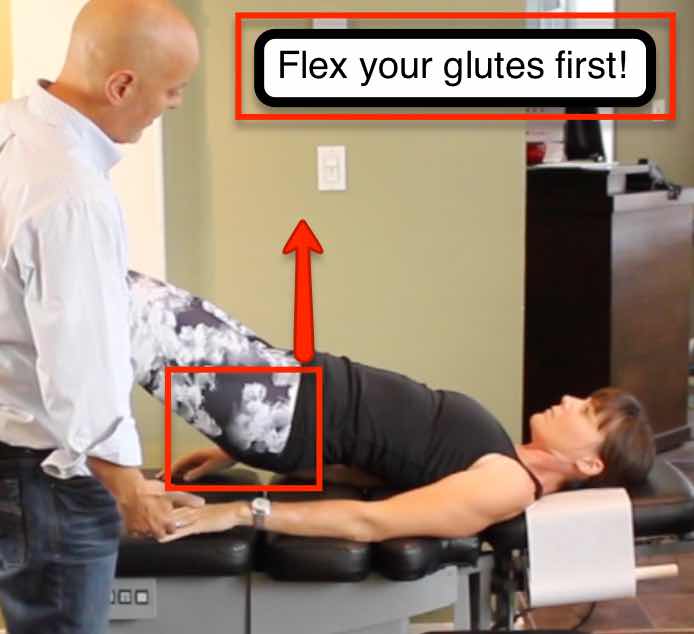
Couple of mistakes I want you to watch out for:
1. Your knee should never drop forward in front of your toes. You want to keep knee over your ankle.
2. There’s a tendency to go rest on your leg by bending forward on your forward leg.
Although that seems appealing, it tends to round out the back, and actually leads to more back problems.
You’ll notice that as you do this, not only is it a good stretch, but your opposite leg is going to really burn as well!
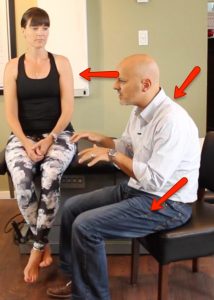
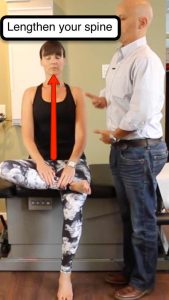 Start from a seated position.
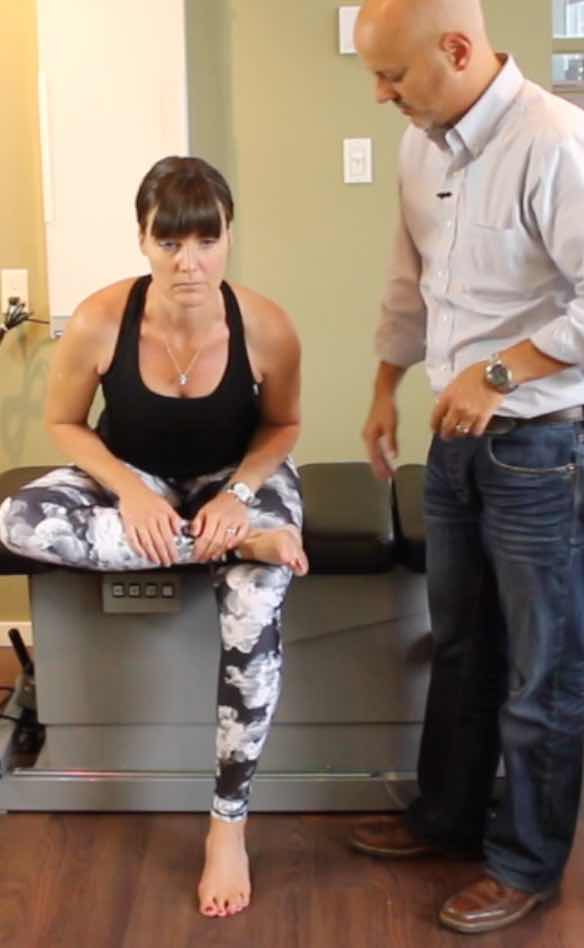
Happy to be a patient of dr Poul Groulx, very good at lessening to people and a great dr knows what he’s doing,I am feeling less pain not only my lower back but all my body is really relaxing after every visit. Thankyou Dr Poul.😍
Hi Fathia. Sorry I missed your comment. You and your son have been a delight. 🙂 -Paul
[…] Ottawa Back Pain Relief Doctor Shares DIY Tips […]